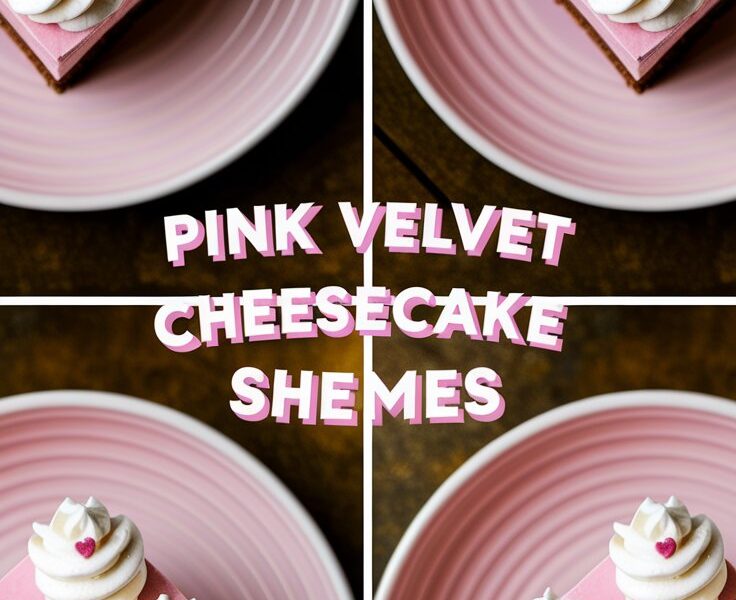
Desserts have a magical way of bringing comfort, celebration, and creativity together in one sweet moment. Among the countless treats found in home kitchens around the world, few desserts strike the perfect balance between elegance, ease, and indulgence like Pink Velvet Cheesecake Squares. With their dreamy pastel shade, creamy texture, and delightful flavor, these squares are more than just a dessert—they are a statement piece meant to impress at any gathering.
In this complete guide, we dive deep into everything you need to know about this no-bake dessert, from ingredients and technique to troubleshooting, variations, serving ideas, storage methods, and expert-level tips to help you master the recipe like a pro. Whether you are a beginner baker or someone who loves thoughtful culinary creations, this article will provide you with all the knowledge needed to turn this simple recipe into a memorable dessert experience.
What Makes Pink Velvet Cheesecake Squares So Special?
At first glance, the pastel pink color grabs your attention—soft, charming, and perfect for festive occasions like Valentine’s Day, bridal showers, birthdays, baby showers, tea parties, or weekend get-togethers. But their true magic lies deeper:
✅ No Baking Required
You don’t need an oven, baking skills, or complicated tools. The refrigerator does most of the work.
✅ Beginner-Friendly Yet Stunning
Even if you’re completely new to making desserts, these squares are almost impossible to mess up. The final result, however, looks like a bakery-style treat.
✅ Creamy, Smooth Texture
The mixture of whipped cream and cream cheese creates that velvet-like rich texture—soft, fluffy, and melt-in-your-mouth.
✅ Customizable
From crust variations to flavor twists and decorative styles, this dessert is one of the most flexible no-bake recipes you can experiment with.
✅ Perfect for Make-Ahead Dessert Lovers
Since it requires chilling, preparing it a day prior actually gives a better taste and firmer texture.
The Story and Inspiration Behind Pink Velvet Desserts
Velvet cakes—especially red velvet—are known for their smooth crumb, gentle cocoa notes, and striking color. As home bakers explored more dessert aesthetics, the “velvet” trend evolved into creative shades such as blue velvet, purple velvet, and of course, pink velvet.
Pink Velvet Cheesecake Squares combine the charm of velvet cakes with the creaminess of cheesecake. Instead of relying on heat or baking, this dessert uses cold setting, which makes the texture uniquely airy and light.
The color pink symbolizes joy, sweetness, and warmth—making this dessert a favorite for celebrations filled with love and laughter.
Ingredients Breakdown: Understanding Each Component Like a Chef
Before you begin, it’s important to know why each ingredient matters. This allows you to experiment confidently later and troubleshoot effectiveness.
✅ 1. The Crust
The base layer gives structure and contrast.
Common Choices:
- Graham crackers
- Digestive biscuits
- Vanilla cookies
- Gluten-free cookies
- Chocolate cookies (for darker contrast)
Why Butter Matters
Melted butter binds the crumbs and helps the crust firm up when chilled. Without enough butter, your crust will crumble. Too much butter makes it greasy.
✅ 2. The Cheesecake Layer
This is the heart of the dessert — silky, fluffy, and perfectly balanced.
Cream Cheese
The primary ingredient that provides structure and tanginess. Room-temperature cream cheese blends smoother.
Heavy Cream
When whipped, it adds volume and a mousse-like lightness.
Powdered Sugar
Dissolves effortlessly, keeping the batter smooth.
Vanilla Extract
Adds warmth and enhances the creamy flavor.
Pink Food Coloring
Creates the signature pastel color. Gel or liquid both work.
Lemon Juice
A tiny splash brightens the flavor and cuts through richness.
✅ 3. The Topping
This layer makes the dessert look polished.
Options include:
- Whipped cream
- Chocolate shavings
- Pink sprinkles
- Fresh berries
- Edible glitter
- Candy hearts
The topping is optional but highly recommended for presentation.
How to Make Pink Velvet Cheesecake Squares (Step-by-Step Guide)
Below is the detailed, professional version of the preparation—not the recipe card, but the deeper explanation.
✅ Step 1: Prepare the Crust
Crush your cookies until they resemble sand. Stir in melted butter and mix until the crumbs hold together. Press firmly into your pan using the back of a spoon or a flat cup. Chill for 15–20 minutes.
Professional Tip:
Use parchment paper with overhanging edges. This allows you to lift the dessert out easily for cleaner slicing.
✅ Step 2: Create the Cheesecake Filling
Beat cream cheese until completely smooth. Add powdered sugar and vanilla. Stir in lemon juice and food coloring. Whip the heavy cream separately until stiff peaks form. Fold the whipped cream into the cream cheese mixture gently to maintain the airy texture.
Professional Tip:
Do not use warm cream for whipping — it will not hold peaks.
✅ Step 3: Assemble and Chill
Spread the cheesecake filling over the crust evenly. Smooth the surface with a spatula. Refrigerate for at least 4 hours, but overnight gives a firmer, cleaner finish.
✅ Step 4: Add Toppings and Slice
Once the dessert is set, decorate as desired. Use a sharp knife dipped in hot water for smooth slicing.
Expert Tips to Guarantee Success
These are the kinds of tips that elevate a beginner’s dessert to a professional-level creation:
✅ Use full-fat cream cheese only
Reduced-fat versions soften too much and prevent proper setting.
✅ Beat cream cheese well before adding anything
This avoids lumps.
✅ Don’t rush the chilling time
Patience gives you cleaner squares and the best texture.
✅ Fold gently
Overmixing deflates the whipped cream.
✅ Use a metal pan for the cleanest edges
Metal chills faster and more evenly than glass.
✅ Avoid too much food coloring
Start with a small drop—you can always add more.
Delicious Variations to Try
These flavor ideas help you create new versions for different seasons or themes.
✅ 1. Strawberry Pink Velvet Squares
Add strawberry purée or strawberry extract to the cheesecake layer.
✅ 2. Raspberry Swirl Version
Swirl raspberry sauce into the filling for a stunning marble look.
✅ 3. Chocolate Pink Velvet
Add white chocolate or dark chocolate into the cream cheese mixture.
✅ 4. Gluten-Free Version
Use almond flour or gluten-free cookies for the base.
✅ 5. Vegan Pink Velvet Squares
Swap:
- Vegan cream cheese
- Coconut cream
- Vegan butter
How to Serve Pink Velvet Cheesecake Squares Like a Pro
Presentation plays a major role in how dessert is perceived.
Try:
- Serving each square on a small plate with a berry garnish
- Dusting lightly with powdered sugar
- Adding edible flowers
- Drizzling white chocolate
Storage Guide: Keeping Your Dessert Fresh
✅ In the fridge
Store airtight for up to 3 days.
✅ In the freezer
Wrap well and freeze for up to 1 month.
Thaw in the refrigerator before serving.
Troubleshooting: Common Problems and Fixes
✅ Problem: Filling is too soft
- Heavy cream wasn’t whipped enough
- Not chilled long enough
- Too much liquid coloring
✅ Problem: Crust is too crumbly
- Not enough butter
- Didn’t press the crust firmly
✅ Problem: Lumpy filling
- Cream cheese wasn’t softened
- Sugar wasn’t sifted
FAQs About Pink Velvet Cheesecake Squares
Can I make this without food coloring?
Yes, simply omit it or use natural pink coloring like beet powder.
Can I freeze the squares?
Yes, freezing works well if wrapped tightly.
Can I use whipped topping instead of heavy cream?
Yes, but the texture may be sweeter and slightly softer.
What pan size works best?
An 8×8 inch pan produces thick, beautiful squares.
Final Thoughts
Pink Velvet Cheesecake Squares are more than a recipe—they are an experience. Their charming color, creamy texture, and effortless preparation make them a dessert worth sharing. Whether you’re making them for a celebration or simply to brighten your day, this no-bake treat brings happiness one square at a time.