When it comes to dessert, many people assume that indulgence and healthy eating can never go hand in hand. Classic cheesecake, for instance, is famously rich, creamy, and satisfying—but it’s also typically loaded with sugar, cream cheese, and heavy cream. The result? A delicious treat that can quickly turn into a calorie bomb.
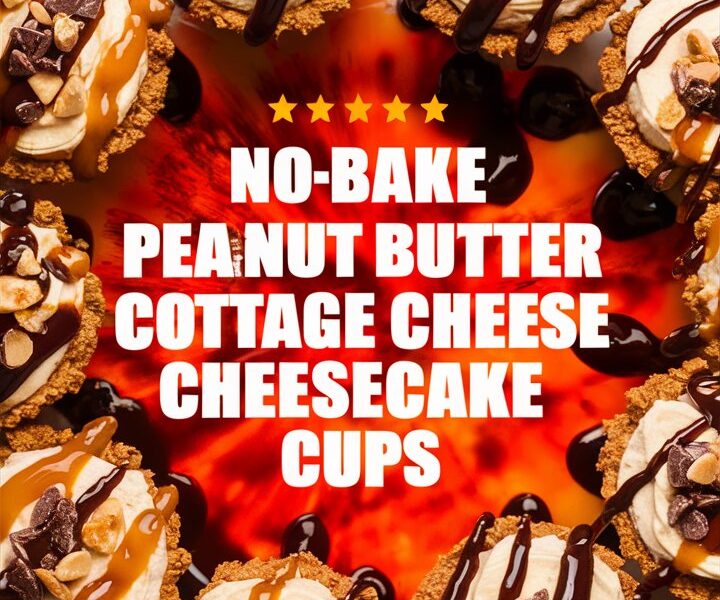
But what if you could have all the flavor, texture, and satisfaction of cheesecake without the guilt? Enter No Bake Peanut Butter Cottage Cheese Cheesecake Cups—a creamy, protein-packed dessert that’s quick to prepare, requires no oven time, and delivers a lighter twist on a beloved classic.
This article dives deep into everything you need to know about this recipe: from its health benefits to ingredient breakdowns, preparation tips, storage hacks, and fun variations. Whether you’re a busy professional, a fitness enthusiast, or simply someone who loves dessert but doesn’t want to compromise health, this cheesecake cup recipe is for you.
Why Choose No-Bake Cottage Cheese Cheesecake?
No-bake desserts have been rising in popularity for years, and for good reason. They’re convenient, time-saving, and require minimal equipment. Cottage cheese, on the other hand, is one of the most underrated ingredients in the dessert world. Together, they make the perfect match.
1. Quick and Convenient
Traditional cheesecakes demand time, patience, and an oven. With this no-bake version, all you need is a blender and a refrigerator. In less than 15 minutes of prep, you have a dessert ready to chill—and soon after, to enjoy.
2. High Protein, Lower Guilt
By swapping heavy cream cheese with cottage cheese, you transform a calorie-dense dessert into a protein-rich treat. One cup of cottage cheese typically provides around 25 grams of protein. This makes it especially appealing for fitness enthusiasts or anyone trying to boost their protein intake.
3. Customizable and Fun
Unlike a traditional cheesecake that comes in a large pan, these cups are portioned individually. This makes them ideal for meal prep, portion control, or party serving. Plus, the variations are endless: fruit swirls, chocolatey twists, or even high-protein upgrades.
The Nutritional Advantage of Cottage Cheese
Cottage cheese is often overlooked, but it’s a powerful ingredient for anyone seeking balance between indulgence and nutrition.
Key Benefits:
- Protein Powerhouse: Supports muscle repair, satiety, and energy.
- Low in Calories: A lighter alternative to cream cheese or mascarpone.
- Rich in Calcium: Essential for bone health and overall wellness.
- Versatile Flavor Profile: Mild and creamy, making it adaptable to sweet or savory recipes.
By blending cottage cheese until smooth, you eliminate its lumpy texture while keeping its nutritional benefits intact. The result is a velvety filling that feels indulgent without being heavy.
Ingredients: What You’ll Need
One of the best parts of this recipe is its simplicity. You only need a handful of wholesome ingredients to create a rich and satisfying dessert.
For the Cheesecake Filling
- 1 cup cottage cheese (full-fat for creaminess, low-fat for lighter option)
- ¼ cup natural peanut butter (no added sugar or oils)
- 2 tablespoons honey or maple syrup (adjust based on preference)
- 1 teaspoon pure vanilla extract
- A pinch of salt to balance flavors
Optional Crust
- ½ cup oat flour or finely crushed graham crackers
- 2 tablespoons melted coconut oil or butter
- 1 tablespoon honey or maple syrup
Optional Toppings
- Mini chocolate chips
- Chopped roasted peanuts
- Fresh fruit slices (bananas, strawberries, or berries)
- Cacao nibs or granola
Step-by-Step Instructions
Step 1: Prepare the Crust (Optional)
If you prefer a base for your cheesecake cups, combine the oat flour (or graham cracker crumbs) with melted coconut oil and honey. Press this mixture firmly into the bottom of your serving jars or ramekins.
Step 2: Blend the Cheesecake Filling
In a blender or food processor, add cottage cheese, peanut butter, honey (or maple syrup), vanilla extract, and a pinch of salt. Blend until silky smooth. Scrape down the sides as needed to ensure no lumps remain.
Step 3: Assemble the Cups
Spoon or pipe the creamy mixture over the crust. If skipping the crust, simply pour the filling directly into jars or bowls.
Step 4: Add Toppings
Sprinkle chocolate chips, chopped nuts, or fresh fruit on top for extra texture and flavor.
Step 5: Chill and Serve
Refrigerate for at least 30 minutes before serving. While they can be enjoyed immediately, chilling enhances the cheesecake-like texture.
Tips for the Best Results
- Choose Full-Fat Cottage Cheese for Creaminess
Low-fat versions work too, but full-fat yields a texture closer to traditional cheesecake. - Blend Thoroughly
To avoid any graininess, blend until completely smooth. A high-speed blender makes the job easier. - Adjust Sweetness
The level of sweetness can vary depending on your peanut butter and personal taste. Start small—you can always add more honey or maple syrup later. - Flavor Enhancements
Add a dash of cinnamon, a squeeze of lemon juice, or even a drizzle of melted dark chocolate for variety.
Fun Variations
Chocolate Cheesecake Cups
Add a tablespoon of cocoa powder to the filling for a rich chocolate-peanut butter flavor.
Strawberry Swirl
After blending, fold in a spoonful of strawberry chia jam or purée for a fruity twist.
Banana Peanut Butter
Blend in half a ripe banana for added sweetness and a hint of banana bread flavor.
Protein-Boosted Version
Mix in a scoop of vanilla protein powder. If the mixture becomes too thick, add a splash of milk to adjust consistency.
Nut-Free Option
Swap peanut butter with sunflower seed butter or tahini.
Serving Ideas
- Dessert Jars: Perfect for dinner parties or family gatherings.
- Meal Prep Snacks: Store in mason jars for grab-and-go options during the week.
- Healthy Breakfast Parfait: Layer with granola and fresh fruit for a morning boost.
- Party Treats: Serve in mini cups for bite-sized indulgence at events.
Storage and Make-Ahead Tips
- Refrigerator: Store in airtight containers for up to 5 days.
- Freezer: Freeze for up to a month. Thaw in the fridge overnight, or enjoy slightly frozen for a cheesecake ice-cream texture.
- Batch Prep: Make a double batch on Sunday and vary the toppings throughout the week.
Nutrition Breakdown (Per Cup, without crust or toppings)
- Calories: ~180
- Protein: 12g
- Fat: 11g
- Carbohydrates: 8g
- Sugar: 5g (from honey/maple syrup)
- Fiber: 1g
- Sodium: 180mg
These values make the cheesecake cups ideal for balanced diets, supporting muscle health, and satisfying sweet cravings without overindulgence.
Frequently Asked Questions
Q1. Can I use Greek yogurt instead of cottage cheese?
Yes, but the flavor and texture will be slightly tangier and less cheesecake-like.
Q2. Is this recipe suitable for kids?
Absolutely! It’s full of healthy fats, protein, and customizable toppings kids love.
Q3. Can I make it keto-friendly?
Yes—use a low-carb sweetener like stevia or monk fruit and skip the oat-based crust.
Q4. Do I need to chill before serving?
While chilling enhances the texture, it’s tasty right away too.
Q5. Can I use flavored cottage cheese?
It’s better to stick with plain, as flavored varieties often contain added sugars.