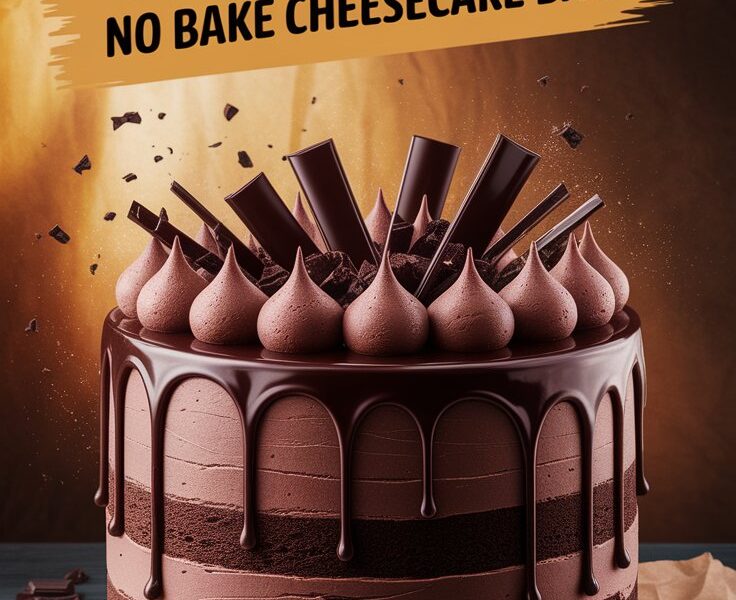
Imagine a dessert that’s as indulgent as a bakery-style cheesecake but requires no oven, no complicated water baths, and no stress. That’s the beauty of Decadent Chocolate No Bake Cheesecake Bars. These creamy, dreamy squares of chocolate bliss feature three irresistible layers: a crunchy Oreo crust, a velvety chocolate cheesecake filling, and a glossy ganache topping that takes them over the top.
Unlike traditional baked cheesecake, this recipe doesn’t involve tricky timing or the fear of cracks forming on the surface. Instead, everything comes together in under 30 minutes of hands-on work, and the refrigerator does the rest of the magic. It’s the perfect dessert for both beginner bakers and seasoned home cooks looking for a low-effort, high-reward treat.
But this isn’t just another no bake cheesecake recipe. In this complete guide, we’ll walk through the science behind why no bake cheesecakes work, explore expert tips to achieve the creamiest texture, troubleshoot common mistakes, and dive into flavor variations that will keep this dessert exciting every time you make it. Whether you’re preparing for a party, stocking up your freezer for future cravings, or simply satisfying a late-night sweet tooth, these bars are a must-try.
What Makes No Bake Cheesecake Different?
Traditional cheesecake is baked in the oven, often in a springform pan with a water bath to prevent cracking. The eggs in the filling set during baking, creating a dense, custard-like texture. While delicious, it can be fussy and time-consuming.
No bake cheesecake, on the other hand, skips the oven entirely. Instead of eggs, it relies on chilling to firm up the cream cheese mixture. The texture is lighter and creamier, almost like a mousse. The chocolate element adds structure as it cools and sets, while the whipped topping ensures an airy bite.
This method is:
- Faster – No baking or cooling required.
- Easier – No risk of overbaking, underbaking, or cracking.
- More versatile – Endless flavors, mix-ins, and toppings can be added.
- Make-ahead friendly – The bars actually improve in texture after a night in the fridge.
For busy households or anyone short on time, this recipe is a true game-changer.
Ingredients Breakdown and Why They Matter
Every ingredient in this recipe plays a key role in taste and texture. Let’s break it down:
Oreo Crust
- Oreos: Provide structure and flavor. Their cocoa-rich base perfectly complements the filling.
- Butter: Acts as a binder, holding the crust together once chilled.
Cheesecake Filling
- Cream Cheese: The star of the show. Use full-fat cream cheese for the creamiest result. Reduced fat can work but may not set as firmly.
- Sugar: Sweetens and balances the tang of cream cheese.
- Melted Chocolate: Not only adds flavor but also helps firm up the filling as it cools.
- Vanilla Extract: Rounds out the flavor.
- Whipped Topping: Lightens the mixture, giving it a mousse-like texture. You can use homemade stabilized whipped cream for a fresher taste.
Ganache Topping
- Heavy Cream: Adds richness and shine.
- Semisweet Chocolate: Melts into the cream to form a smooth, luxurious topping.
Optional Garnishes
- Shaved chocolate for elegance.
- Crushed Oreos for extra crunch.
- Fresh berries for a pop of freshness.
- Peanut butter or caramel drizzle for added decadence.
Each component is simple, but together they create a dessert that feels far more sophisticated than the effort it requires.
Step-by-Step Instructions
Step 1: Make the Crust
- Crush Oreos into fine crumbs using a food processor (or place them in a bag and crush with a rolling pin).
- Mix crumbs with melted butter until evenly coated.
- Press firmly into a parchment-lined 8×8-inch pan.
- Chill for 15 minutes to set.
Pro Tip: Use the bottom of a glass to press the crumbs evenly and firmly. A well-packed crust prevents crumbling when slicing.
Step 2: Prepare the Filling
- Beat softened cream cheese and sugar until smooth and lump-free.
- Mix in vanilla extract and cooled melted chocolate.
- Gently fold in whipped topping until light and fluffy.
- Spread evenly over the chilled crust and smooth the top.
- Chill for at least 2 hours to firm up.
Pro Tip: Do not add warm chocolate directly to cream cheese—it may seize and create lumps. Let it cool slightly first.
Step 3: Add the Ganache
- Heat heavy cream until steaming (not boiling).
- Pour over semisweet chocolate chips in a bowl.
- Let sit for 2 minutes, then stir until smooth and glossy.
- Allow ganache to cool slightly before pouring over cheesecake filling.
- Spread evenly and chill another hour to set.
Pro Tip: For a thinner ganache, add more cream. For a thicker one, add more chocolate.
Step 4: Slice and Serve
- Lift the dessert out of the pan using parchment paper.
- Dip a sharp knife in hot water, wipe clean, and cut into squares.
- Garnish with your favorite toppings.
Tips for Success
- Room Temperature Cream Cheese: Always start with softened cream cheese for a smooth filling.
- Chill Thoroughly: Rushing the chill time can lead to messy, soft bars.
- Don’t Overmix: Once the whipped topping is added, fold gently to keep the filling airy.
- Use Parchment Paper: It makes removing and slicing the bars much easier.
- Serve Cold: These bars taste best chilled straight from the fridge.
Flavor Variations
The base recipe is incredible, but you can easily customize it:
- Mint Chocolate: Add peppermint extract and garnish with crushed mint candies.
- Peanut Butter Swirl: Swirl in melted peanut butter before chilling.
- Berry Bliss: Top with fresh raspberries or strawberries.
- Cookies & Cream: Mix crushed Oreos into the filling.
- Mocha: Stir in espresso powder with the melted chocolate.
- Salted Caramel: Drizzle caramel sauce over the ganache and sprinkle with sea salt.
Storage and Freezing
- Refrigerator: Store in an airtight container for up to 5 days.
- Freezer: Wrap tightly in plastic wrap and foil. Freeze up to 2 months. Thaw overnight in the fridge for best texture.
Pro Tip: Slice before freezing for easy portion control.
Nutrition Facts (Per Serving, 12 Bars)
- Calories: 320
- Fat: 22g
- Saturated Fat: 12g
- Carbohydrates: 28g
- Sugar: 20g
- Protein: 4g
- Fiber: 1g
Common Mistakes to Avoid
- Cold Cream Cheese → leads to lumps.
- Skipping Chill Time → bars won’t hold shape.
- Overmixing Filling → dense, heavy texture.
- Pouring Hot Ganache on Filling → melts the cheesecake layer.
FAQ – Expert Answers
Q: Can I make these bars a day ahead?
Yes, in fact they taste better after resting overnight.
Q: Can I use Greek yogurt instead of cream cheese?
No, it won’t set properly. Stick to cream cheese or mascarpone.
Q: What if I don’t have Oreos?
Use graham crackers, digestive biscuits, or any chocolate cookies.
Q: Can I double the recipe?
Yes, use a 9×13 pan and adjust chilling time slightly longer.
Q: Do I need to freeze these bars?
No, refrigeration is enough, but freezing is useful for long-term storage.
Q: Can I use white chocolate instead of semisweet?
Yes, but reduce added sugar since white chocolate is sweeter.
Q: Can these be made gluten-free?
Yes, use gluten-free chocolate cookies for the crust.
Q: Can I make them vegan?
Yes, use dairy-free cream cheese, coconut whipped cream, and vegan chocolate.
Q: How do I get perfectly clean slices?
Dip knife in hot water, wipe clean after each cut.
Occasions to Serve These Bars
- Birthday parties
- Holiday gatherings (Christmas, Easter, Thanksgiving)
- Valentine’s Day (pair with strawberries)
- Potlucks and picnics
- Bridal showers or baby showers
- Weeknight family dessert
They’re versatile enough for casual snacking or elegant dinner parties.
The Science of No Bake Cheesecake
Why does this work without baking? The secret is in the fat and stabilizers. Cream cheese contains enough fat to firm up when chilled. Chocolate adds cocoa butter, which solidifies as it cools. Whipped topping contributes stabilized air, keeping the texture light but structured. The result is a dessert that sets beautifully without heat.
Final Thoughts
These Decadent Chocolate No Bake Cheesecake Bars are proof that elegance doesn’t require complication. With just a handful of ingredients and no oven, you can create a dessert that rivals professional patisserie quality. Creamy, chocolatey, and endlessly adaptable, they’re the perfect treat for any occasion.